
Install A TIBCO Scribe® Online On-Premise Agent
Integration Solution Tutorial
The TIBCO Scribe® Online Agent facilitates secure communication between the data sources used by a Solution. During the Agent installation process, both the Agent and supporting files for the default Text Connectors are installed on your machine. The Salesforce Connector used for this tutorial must be installed from the Marketplace.
Objectives
Learn how to:
- Install an On-Premise Agent on a computer on your network
- Determine the Agent's status
Start The TIBCO Scribe® Online On-Premise Agent Installation
Navigate to the Agents Dashboard , select Add![]() , and choose On-Premise Agent. If you already have a Cloud Service installed, Add
, and choose On-Premise Agent. If you already have a Cloud Service installed, Add![]() takes you directly to the Install On-Premise Agent dialog.
takes you directly to the Install On-Premise Agent dialog.
- Select Install On-Premise Agent to download the Agent installer.
- Select Copy to copy the Agent Key. The Agent Key is required in a later step.
- Locate the ScribeInstaller.exe file in your default downloads folder.
- Right-click the installer file and select Run to begin the installation. You may see one or more Security Warning messages. Select Run or Yes as needed to open the System Configuration Check page.
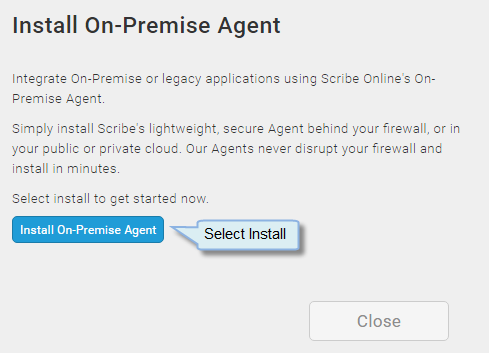
Install On-Premise Agent Dialog
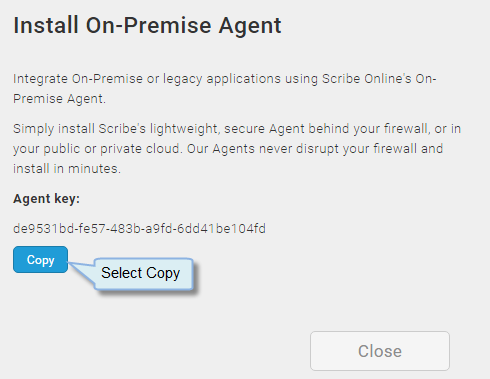
Copy Agent Key
Check The System Configuration
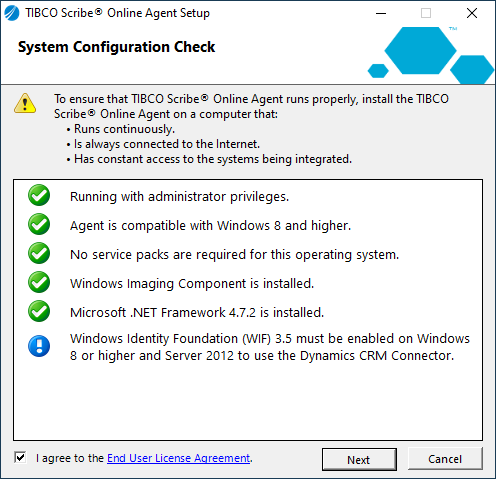
Agent System Configuration Check
The System Configuration Check page displays, ensuring that all of the TIBCO Scribe® Online prerequisites have been met:
- If any Agent Requirements have not been met, you are prompted to install them now.
Note: If Microsoft .NET Framework 4.7.2 or later is not installed, an error message displays. If needed, install .NET Framework 4.7.2 (full version).
- Select the End User License Agreement link and review the license file. Check the I agree to the End User License File check box to accept the license agreement.
- If all of the prerequisites have been met, select Next. The TIBCO Scribe® Online Agent Setup wizard opens.
Install The TIBCO Scribe® Online Agent
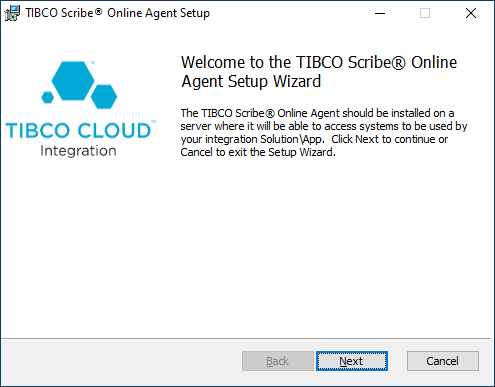
Agent Install Wizard
- From the Welcome to the TIBCO Scribe® Online Agent Setup page, select Next.
- Paste in the Agent Key that you copied earlier, then select Next.
Note: If necessary, move the Wizard window to copy the key.
- Decide where to install the TIBCO Scribe® Online Agent.
- To use the default location, select Next.
- To select a different location, select Change, browse to the new location, and select Next.
- Select Install Agent to install the TIBCO Scribe® Online Agent, then select Finish.
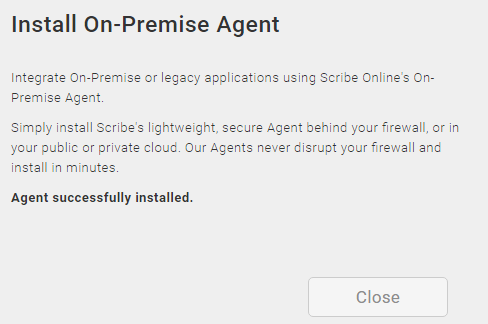
- After you select Finish, the Agent connects with the TIBCO Scribe® Online cloud, which may take a few minutes. When the connection is successful, the following message displays on the Install On Premise Agent dialog box:
Agent succesfully installed.
- Select Close to close the Install dialog box.
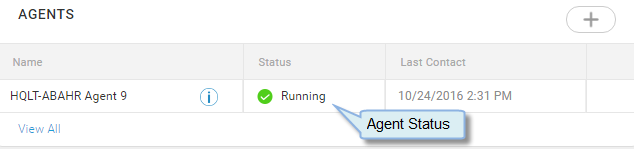
After an Agent is installed or provisioned, its status displays in the Agents page, the Agents Dashboard , and the Agent drop-down list in Solutions and Connections. Agents that are ready to use display a green checkmark (
 ).
).
Agent Install Success
Agents Dashboard
Return to Integration Solution Hands-On Tutorial to select the next lesson.