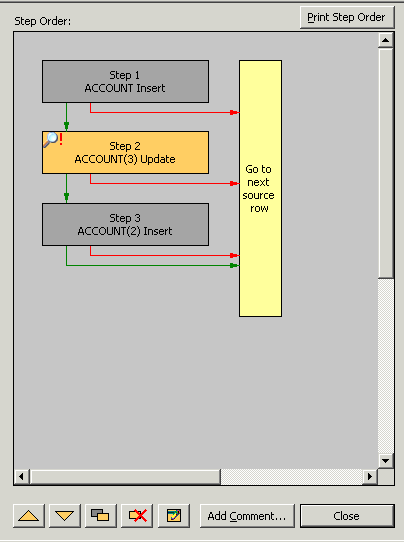
When you create a step, Insight automatically assigns a step name corresponding to the object name. If you add additional steps for the same object, Insight adds an ordinal to the name, corresponding to the order in which it was created:
Account
Account(2)
Account(3)
By default, these are the step names displayed in the Configure Steps window, on the related Data Formulas and Lookup Criteria tabs, and on any reports you generate. If you later change the order of these steps, see the example figure below, these names could cause further confusion.
The best practice is to assign a "friendly" name to each step as you create it, which is not order specific and is easier to identify. Step names can be up to 50 characters long.
Modified Step Order
If you have multiple steps for the same target object, renaming the steps may make it easier to view information displayed on the Links, Data Formulas and Lookup Criteria tabs, as well as on reports you generate.
To rename a step
Warning: Insight displays each step in the step flowchart with the name and operation to be performed, e.g., "Customer (3) Update". It may be useful to name the steps in a more logical and user-friendly manner, such as Lookup Customer, Add New Customer, Modify Existing Customer, and so on.
See also