
Map Exit Block
The Map Exit Block causes the Solution to exit the current Map immediately and either continue to the next Map or exit the Solution with a fatal error. You can use the Map Exit Block with an If/Else Block to trap an error condition in your data.
Note: If Batch Processing is enabled for any Block in the Map and the condition that triggers the Map Exit is reached, any records that are being cached to send as a batch are not processed. For example, if you have an Update Block with Batch Processing enabled and set to 200 records and you have Map Exit set to exit the Map after 275 records, the following occurs:
- The first batch of 200 records is updated in the target.
- The Update Block begins caching records for the second batch.
- The Map reaches 275 records.
- The Map Exit Block exits the Map.
- The 75 records cached by the Update Block are not sent to the target because the Map Exit Block has exited the Map and stopped processing before the batch was complete.
Map Exit Example
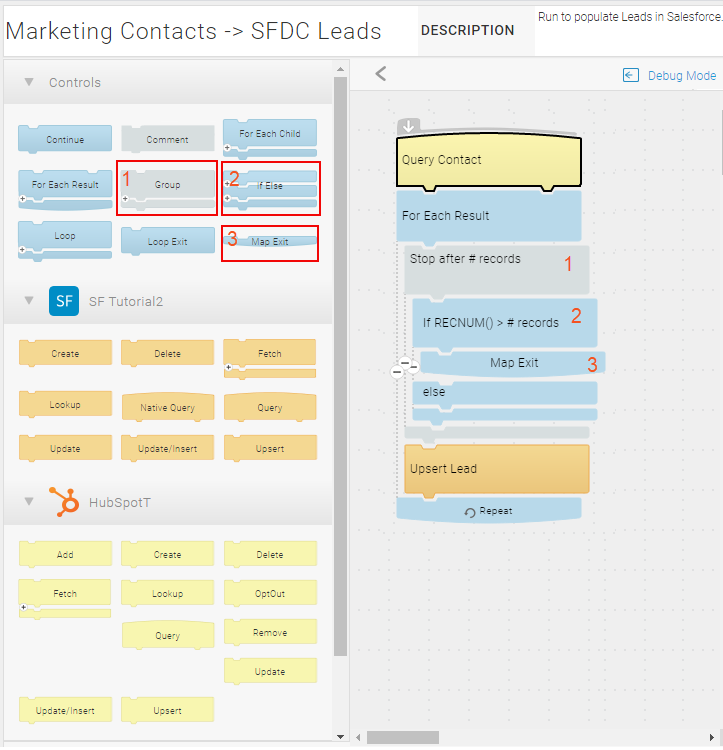
The Map Exit Block can be useful for testing a Map by stopping the Map after a specified number of records. This can be faster than using the Debug option and can help you run through a subset of records to find subtle data or logic errors. This method is helpful for getting performance metrics. The following example exits the Map after a specified number of records have been processed by using the RECNUM() function, an If/Else Block, and a Map Exit Block.
Create a Map with a Query Block and a For Each Result Block and then add the following:
- Add a Group Comment Block and label it Stop after # records.
- Add an If/Else Block inside the Group Block with a condition on the If.
- Left Value: RECNUM()
- Operand: is greater than
- Right Value: [numeric value]
- Add a Map Exit Block inside the If section of the If/Else Block. If the Condition is met, the Map Exit Block exits the Map.
Note: Placing the If/Else and Map Exit Blocks at the beginning of the Map ensures that the If/Else is always executed. If the If/Else Block is at the end of the Map, it does not take into account failed records and may process more records than you intended.
- Make sure Batch Processing is disabled on any Blocks where Batch Processing is an option. Incomplete batches are flushed if the Map Exit Block executes.
Note: When you are done testing and you are ready to being using the Map with the full set of data, remove the Group Comment Block and its contents from the Map. This should include the If/Else and Map Exit Blocks. You can now enable Batch Processing if you choose to use that option.
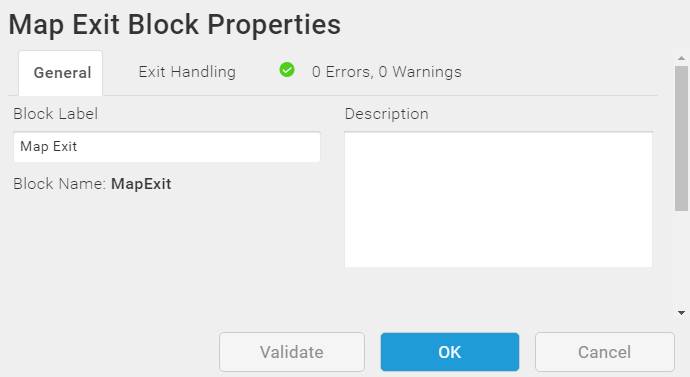
Block Properties — General Tab
From the General tab, you can change the Block Label and add a description.
Block Properties — Exit Handling Tab
Use the Exit Handling tab to determine Solution behavior after exiting the Map.
- Exit the current Map and continue to the next Map without an error.
- Stop the Solution and write an error to the Execution History Log. See Viewing Execution History.
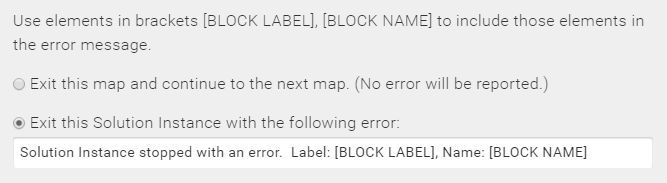
If you choose to write the error to the History Log, either:
- Use the suggested message wording supplied by TIBCO Scribe® Online.
- Change the error message for this error. You can use any text as well as [BLOCK LABEL] and [BLOCK NAME] to include the Block Label or Block Name from which this error originated. These options can help you determine the operation or Block that caused this error to occur.
Block Properties — Errors And Warnings Tab
If there are any errors or warnings for this Block, the Errors and Warnings tab displays the number of errors or warnings in the tab name. See Block And Map Errors And Warnings.
Once you have corrected the errors, select the Validate button to update the Errors and Warnings tab.