
Build Reply Block
Use the Build Reply Block to add fields in a reply to a custom application in a Request/Reply Map.
If you do not use a Build Reply Block, the reply is empty.
Note: For an example of a Request/Reply Map using two Build Reply Blocks to create a hierarchical reply, see Request/Reply Map Example.
Block Properties — General Tab
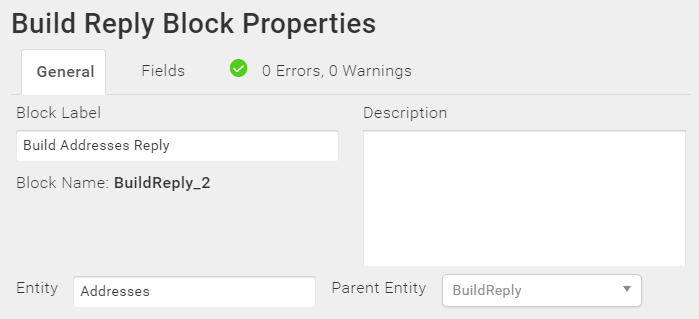
From the General tab, you can:
- Change the Block Label and add a description.
- Change the name of the Entity for your reply. By default, the Entity is named Data. You can change the name in the Entity text box to reflect the name of the entity for your reply. The Entity name can contain letters, numbers, and underscores.
- The Parent Entity is normally unavailable unless you are building a hierarchical reply and this is the second or later Build Reply Block. For an example of how to create a Request/Reply Map with hierarchical data, see Request/Reply Map Example.
Block Properties — Fields Tab
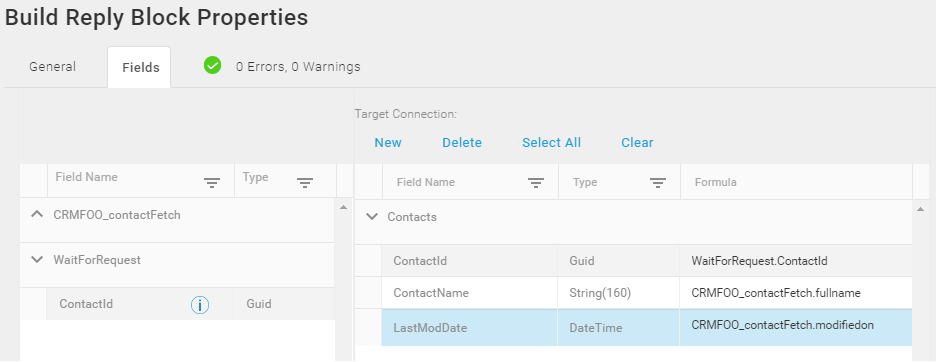
For the Build Reply Block, the Fields tab is similar to the Block Properties Fields Tab in a Create or Update Block with the following differences:
- When you first open the Fields tab, there are no fields in the right-hand pane. Typically this is the Target pane. This is the pane in which you build your reply by configuring the fields you want to generate inside the reply.
- The fields in the left pane are the fields you defined in the Request tab for the Wait For Request Block, or fields that were returned by a Lookup or Fetch Block.
Using The Fields Tab
- From the Fields tab, you can either:
- Drag the fields you want to include in your reply from the left pane to the right.
- In the right pane, select New to create a new field and then map a source field to it.
Note: TIBCO Scribe® Online uses the lower camel case naming convention for field names sent in the Reply. Field names that do not follow that convention are changed in the response payload. TIBCO suggests using lower or lower camel casing, such as lastName instead of LastName.
- After moving or creating fields, you can:
- Change the field name — Field names must start with a letter and can contain letters, numbers, and underscores.
- Change the data type — Select the Type column for the field you want to change. Select the data type for this field from the Type drop-down.
- Add or edit a formula — Select the Formula icon
 in the field you want to edit to open the Formula Editor. See Formula Editor for more information.
Block Properties — Errors And Warnings Tab
If there are any errors or warnings for this Block, the Errors and Warnings tab displays the number of errors or warnings in the tab name. See Block And Map Errors And Warnings.
Once you have corrected the errors, select the Validate button to update the Errors and Warnings tab.